As you may know, the popular tool log2timeline can be also used directly on Windows. But the question is, why do I need to use log2timeline on windows? The answers is quite easy, for performance purpose.
log2timeline is a fantastic tools, but the process of creating a forensics timeline can be long and time consuming, for this reason I prefer instead of using a virtualized enviroment, to use directly log2timeline for Windows.
In this guide, we will do a timeline using log2timeline for Windows.
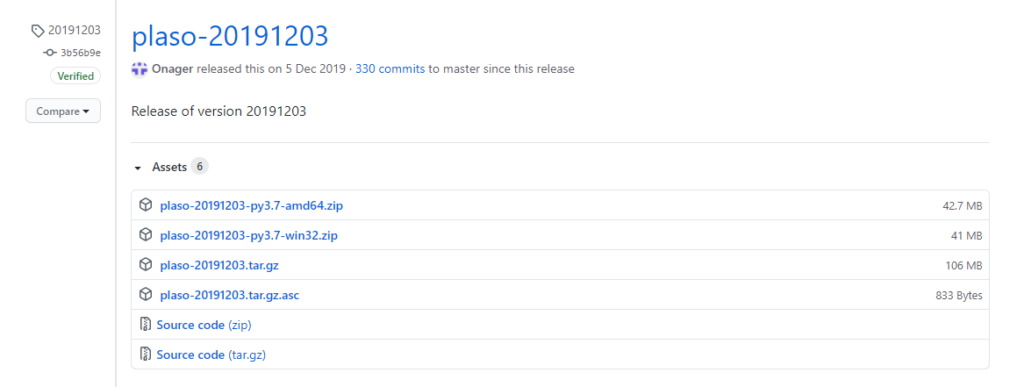
First of all, let’s download the Windows version of plaso from the official Github repo (https://github.com/log2timeline/plaso/releases), then just look for the Windows 32 or 64.

After the download, unzip the files, now you are ready to use plaso.
Let’s made our first timeline under Windows.
- Open a cmd with administrator privileges, then move to the directory where you extracted plaso.
- Use log2timeline.exe to gather the timeline data from your image.
log2timeline.exe plaso.dump drive_d.dd- Command explanation:
- plaso.dump is the output file
- drive_d.dd is the bitestream copy of the drive of which you want to create a timeline
- You may choose the partition on which you want that log2timeline will collect data, in my case is p3 as you can see in the picture below.

- You may also choose the vss (Volume Snapshot Service) that you want to include in your timeline. Press enter if you don’t want to include any vss.
- Wait until the process is completed, it can last several hours.
- When the process is finished you can run isort.exe for filter the timeline data.
psort.exe -z "UTC" -o L2tcsv plaso.dump "date > '2020-09-01 00:00:00' AND date < '2012-10-15 00:00:00'" -w timeline.csv
- Command explanation:
- -z is the timezone, in this case UTC
- -o is the output time, in this case CSV
- plaso.dump is the file created with log2timeline
- date (YYYY-MM-DD HH:MM:SS) is the timeslot on which you want to create the timeline.
- -w timeline.csv is the output CSV file
- Now you have the CSV, with the data of your timeline.
- For a better visualization import the csv into the xlsx file created by Rob Lee, that you can find at this link: https://www.sans.org/blog/digital-forensic-sifting-colorized-super-timeline-template-for-log2timeline-output-files/
- Enjoy your first windows created timeline!